GitHub Pages - Why/How did I create my website
Aaron LaBeau
May 8, 2021
Why GitHub Pages?
When I introduced my new website and blog I had several friends reach out and ask what technology I used. I told them I picked GitHub Pages, which they followed up with another question of why use that and not some other prebuilt solution. The decision was very easy to make - I’m a developer and I’m used to GitHub. GitHub Pages are free, made for developers, and are extremely easy to setup. You can literally have a site up and running in less than 20 minutes.
GitHub Pages uses Jekyll - a static website generation technology written in Ruby and is used to convert markdown files into static web pages. I love the markdown syntax and I can use any markdown editor or GitHub’s site to create new posts. Since Jekyll themes are just standard HTML and CSS I can take any theme and tweak it to meet my needs without having to learn a new language or platform. I know there are great tools for React like Gatsby, but really I don’t want to spend a lot of time on this project. I want standard HTML and CSS rather than adding React and complex Javascript into the mix.
You might have noticed my site has a custom URL and not only does GitHub support this, they will generate a SSL certificate for the site based on your domain name for free. Below I will break down some rough notes I took when I went through the process for anyone looking to try to do this themselves.
What tools do you need?
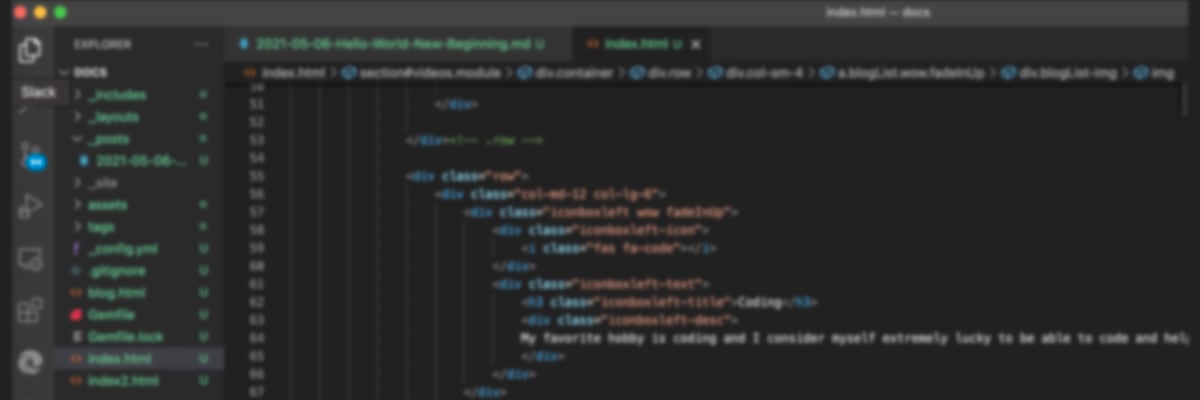
I recommend using a code editor like Visual Studio Code to edit your site files and blog posts. It’s a great HTML and markdown editor. To compile pages, etc you will need some open source tools. On the Mac I use homebrew to install these and if I was using Windows I would use the Windows Subsystem for Linux to install Linux in Windows and then use the standard package manager in Linux or Chocolatey if you don’t feel that comfortable with Linux.
You will need the following tools on your computer:
- A code editor like Visual Studio Code
- Ruby MacOS Windows WSL
- Bundler (you use gems the Ruby package manager to install this )
- Jekyll (you use gems the Ruby package manager to install this)
How do you setup a GitHub Pages site?
Creating the site is as simple as creating a new repo in GitHub - although you must name it according to the GitHub documentation - which is usually username.github.io. The GitHub documentation is very good and I recommend fully reading it before attempting to create a GitHub Page.
Once my repo was created I cloned it on my local computer using SSH. NOTE I didn’t use there wizard to select a theme because I knew I wanted to hack something together based on a theme I could find on the internet so after I created the repo and named it I cloned it and decided to do the rest of the process manually.
My next step was looking for a theme I really liked on the internet. I googled for “free jekyll themes” and found several websites with resources. One of the more popular sites with themes is this one. Once I picked my theme I downloaded a copy of it and unzipped it to my hard drive into my downloads folder. I’m going to hack the crap out of it, so I always keep a backup copy of the original in case I need to compare the original to my hacked up version. Next I made a new folder in my repo for my github page called docs and I copied and pasted the files from the theme into that folder. Now it was off to the races hacking the HTML code.
Folder structure
The folder structure of the theme I’m using breaks down like this on my site:
- _include directory: directory that includes basic rendering templates in html for things like my Google Analytics config, the format of my blog posts page that renders a list of my blog posts, the footer of the site, etc.
- _layouts directory: this has the default web page and the posting html template code the site renders. Both of these were modified so they render the way I want to site to render
- _posts directory: this is a directory with all my blog posts in files using the markdown formatted.
- assets directory: this has the bootstrap, css, javascript, and images used for my site. I “tweaked” the CSS to meet my needs.
- tags directory: this lists out the tags I use in my blog articles.
The main page on the site is called index.html and I modified this to show off the design you see when you go to my main website.
The theme I downloaded had a file called _config.yml with all the configuration of the site including how to render the navigation menu. I went through and modified it’s code based on the readme file and reading the code.
How the theme I used works is that there is an _posts folder that my MD files go for my blog posts. I simply add files into that folder with some metadata on them and jekyll will do the rest of the work. I’m sure some themes vary in there setup and usually they have a good readme in there. If you know HTML and Javascript it’s pretty easy to read the code and figure out what it’s doing.
How do you debug your site on your local computer
Open a terminal int the directory where the _config.yml file is and run the following commands:
bundle install

bundle exec jekyll serve
The first command will install any dependencies you need. The second command will start the webserver on your local machine and have Jekyll convert your MD files to static HTML files. You usually only need to run bundle install once and after that you can just run bundle exec jekyll serve when you want to debug any code changes you made on your local machine.
Publishing the site
Publishing the site was as simple as going through and pushing my changes from my local computer to the GitHub Repo into the main branch. Once that was done I went into the repo settings from the GitHub portal and selected Pages from the menu on the left. This is where you can tell your GitHub Page setup which folder that your site is rendered in. Mine was in the docs folder so I configured it to use that.
What about your custom website name?
Next was the tricky part of using a custom website name. I’ve always used Go Daddy for registering my domain name. I will note I really hate Go Daddy but they have extremely cheap prices and if you register a domain name the DNS hosting is usually free, which is what I needed. I would add you have to pay a fee every few years to keep your name reserved and pay for the DNS hosting - so this will be an on-going thing so make sure you pick a company that will be around.
What is DNS you ask? DNS or Domain Name System is the system that converts your website name to an IP address so your computer can find it (this is a very simple explication to a much more complex system). Entire books have been written and classes taught on DNS - so a single blog post isn’t going to make you an expert. Fun Fact: I used to be the Network Administrator of an ISP way back in the 90’s - so I know a lot more about DNS than the average developer. To make all this work I needed to create something called a CNAME record.
What a CNAME record does is take my website hostname which is www and domain name which is costoda.tech and point it to a different hostname and domain name, which is biozal.github.io. So when anyone on the internet browses to www.costoda.tech DNS will look at that name and see that it should instead go to biozal.github.io and sends your computer to that site instead. The nice thing about this is that your browser will still show my website as being www.costoda.tech, which is different than a redirect. I used the DNS manager on the Go Daddy website to setup this CNAME record. It isn’t terribly difficult to do and if you read your DNS hosting service documentation on how to create a CNAME it’s pretty straight forward - just point your new hostname which is www and your domain name to the full name of your GitHub pages site.
Once you have the CNAME record created - go back to GitHub and go into the settings of your repo and click the Pages link. You need to tell GitHub that you are using a custom domain name by typing that in and clicking Save. There is also a checkbox that states Enforce HTTPS - I highly recommend you check that and save the settings. GitHub will generate a custom SSL certificate for your site once it validates the configuration.
Now I will note that my GitHub page comes up with DNS warnings saying the zone records weren’t setup right when I know for a fact they are. I think this is a bug in the validation tool they have that validates your DNS hostname settings. My site is working without issues and you have confirmed that by reading this article.
And that’s how I setup my website. If you want to try this and you run into problems - hit me up on the Twitter and I’ll do what I can to help you out.
Stay Safe!
-Aaron